Deploying Transformer models on edge devices requires careful consideration of both performance and compatibility. While Python is powerful, it may not be ideal for deployment, particularly in C++-dominated environments. This blog will guide you on how to optimize and deploy Hugging Face Transformers models using Optimum-Intel and OpenVINO™ GenAI, ensuring efficient AI inference with minimal dependencies.
Why Use OpenVINO for Edge Deployment?
OpenVINO™ was originally developed as a C++ AI inference solution, making it particularly suitable for edge device deployments, where minimizing dependencies is crucial. With the introduction of the GenAI API, integrating large language models (LLMs) into C++ or Python applications has become much simpler, with features designed to streamline deployment and improve performance.
Step 1: Setting Up the Environment
Preparation
Before starting, ensure your environment is properly configured with both Python and C++. Install the necessary Python packages:
pip install --upgrade --upgrade-strategy eager optimum[openvino]
Here are the specific packages used in this blog:
transformers==4.44openvino==24.3openvino-tokenizers==24.3optimum-intel==1.20lm-eval==0.4.3
For GenAI C++ library installation, follow the instructions here.
Step 2: Exporting the Model to OpenVINO IR
The collaboration between Hugging Face and Intel has led to the Optimum-Intel project, which aims to optimize Transformers model inference on Intel hardware. Optimum-Intel supports OpenVINO as an inference backend, providing APIs that wrap around OpenVINO's inference APIs. These wrappers begin with the "OV" prefix, such as OVModelForCausalLM. Furthermore, its API closely mirrors the 🤗 Transformers library.
Check out Optimum-Intel for more details.
To export a Transformers model to OpenVINO's Intermediate Representation (IR), you can use either Python’s .from_pretrained() method or the Optimum CLI. Here are examples of both methods:
Using Python API
from optimum.intel import OVModelForCausalLM

model_id = "meta-llama/Meta-Llama-3.1-8B"
model = OVModelForCausalLM.from_pretrained(model_id, export=True)
model.save_pretrained("./llama-3.1-8b-ov")
Using Command Line (CLI)
optimum-cli export openvino -m meta-llama/Meta-Llama-3.1-8B ./llama-3.1-8b-ov
The ./llama-3.1-8b-ov folder will contain the .xml and .bin IR model files, along with the required configuration files from the source model. 🤗 tokenizer will also be converted to OpenVINO's openvino-tokenizers format, with corresponding configuration files generated in the same folder.
Step 3: Model Optimization
When running large language models (LLMs) on resource-constrained edge devices, model optimization is essential. Weight-only quantization is a popular method to significantly reduce both latency and model footprint. Optimum-Intel offers weight-only quantization through the Neural Network Compression Framework (NNCF), which includes various optimization techniques specifically for LLMs: from data-free INT8 and INT4 weight quantization to data-aware methods like AWQ, GPTQ, and hybrid precision quantization.
For models with more than a billion parameters, weights are quantized to INT8 by default, which maintains safe accuracy levels. However, using 4-bit quantization offers a better trade-off between accuracy and performance.
For the meta-llama/Meta-Llama-3.1-8B model, we recommend combining AWQ, scale estimation, and calibration datasets that reflect your deployment scenario to apply mixed precision INT4/INT8 quantization. Like the export step, two options are available for applying weight-only quantization:
Using Python API
from optimum.intel import OVModelForCausalLM, OVWeightQuantizationConfig

MODEL_ID = "meta-llama/Meta-Llama-3.1-8B"
quantization_config = OVWeightQuantizationConfig(bits=4, awq=True, scale_estimation=True, group_size=64, dataset="c4")
model = OVModelForCausalLM.from_pretrained(MODEL_ID, export=True, quantization_config=quantization_config)
model.save_pretrained("./llama-3.1-8b-ov")
Using Command Line (CLI)
optimum-cli export openvino -m meta-llama/Meta-Llama-3.1-8B --weight-format int4 --awq --scale-estimation --group-size 64 --dataset wikitext2 ./llama-3.1-8b-ov
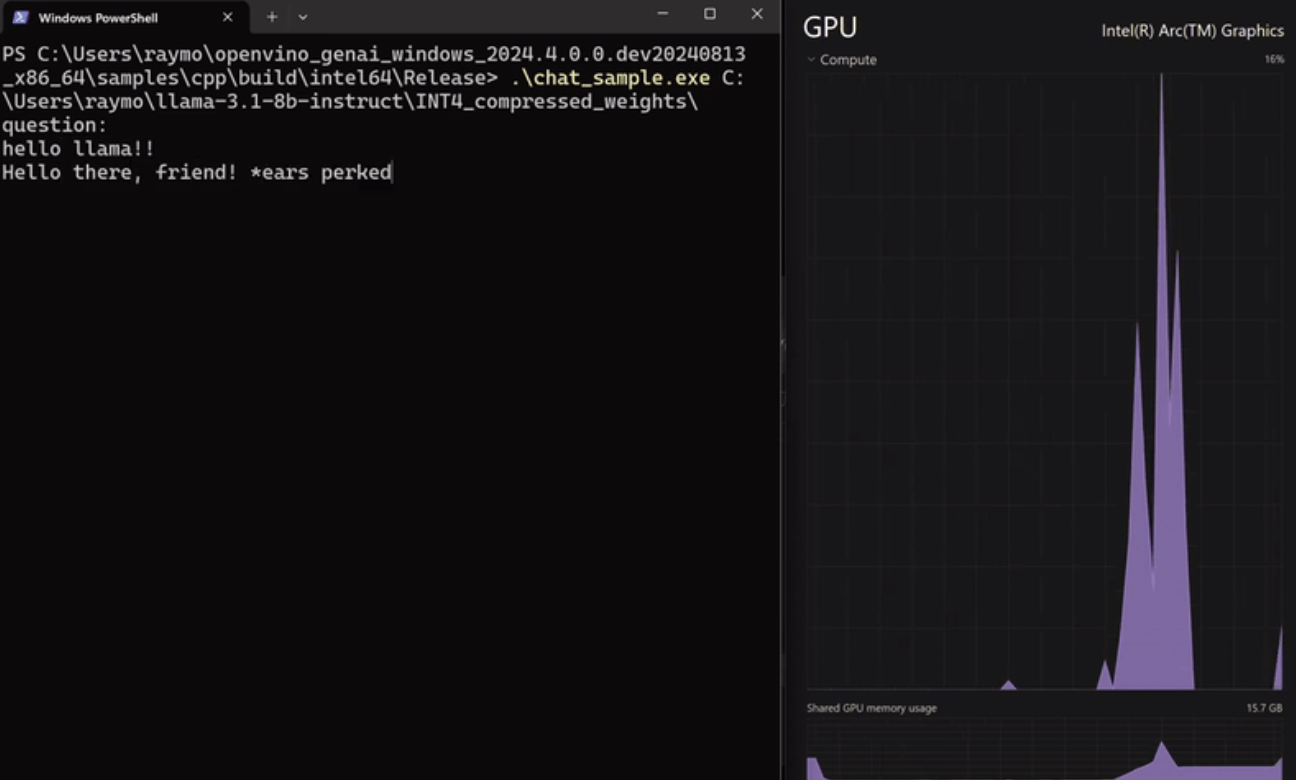
Step 4: Deployment Using OpenVINO GenAI API
After converting and optimizing the model, deploying it with OpenVINO GenAI is straightforward. The LLMPipeline class in OpenVINO GenAI offers Python and C++ APIs, supporting various text generation techniques with minimal dependencies.
Python API Example
import openvino_genai

device = "CPU"  # You can use GPU as well
pipe = openvino_genai.LLMPipeline(model_dir, device)
config = openvino_genai.GenerationConfig()
config.max_new_tokens = 100
print(pipe.generate(prompt, config))
You can install the OpenVINO GenAI package in the same Python environment or set up a separate environment to compare the application’s footprint:
pip install openvino-genai==24.3
C++ API Example
Here's an example of how to run the same process using OpenVINO GenAI C++ API. The API is intuitive and offers seamless migration from the 🤗 Transformers API.
#include "openvino/genai/llm_pipeline.hpp"
#include <iostream>

int main(int argc, char* argv[]) {
   std::string model_path = "./llama-3.1-8b-ov";
   std::string device = "CPU";  // GPU can be used as well
   ov::genai::LLMPipeline pipe(model_path, device);
   std::cout << pipe.generate("What is LLM model?", ov::genai::max_new_tokens(256));
}
You can also specify custom generation configurations using ov::genai::GenerationConfig:
ov::genai::GenerationConfig config;
config.max_new_tokens = 256;
std::string result = pipe.generate(prompt, config);
Conclusion
The combination of Optimum-Intel and OpenVINO™ GenAI offers a powerful and flexible solution for deploying Hugging Face models on edge devices. By following these steps, you can achieve optimized high-performance AI inference in environments where Python may not be ideal, ensuring smooth operation on Intel hardware.
Additional Resources